
Issue:
The camera is not lining up with any of the holes on the mounting plate. Which holes do I use to mount the camera?
Solution:
- Remove the Camera and junction box from the packaging.
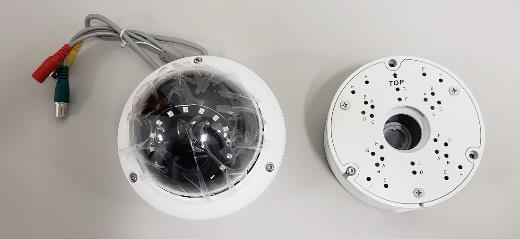
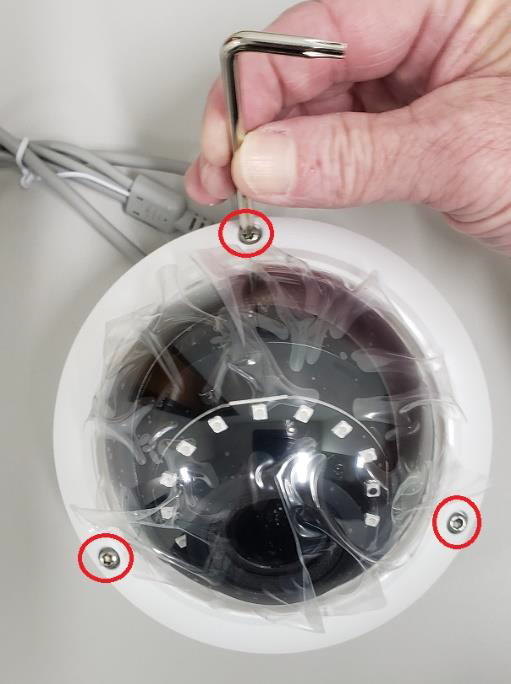
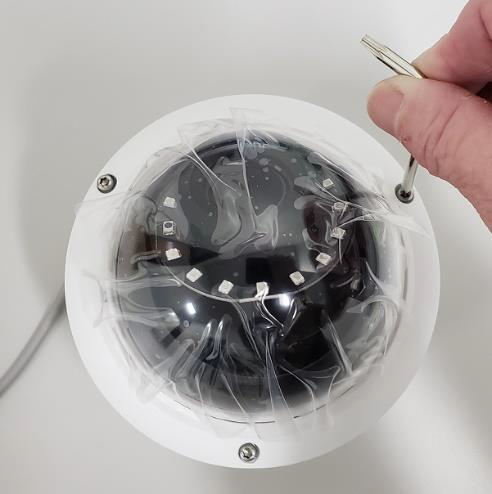
- Loosen the three (3) security bolts that fasten the Dome to the camera using the supplied security wrench.
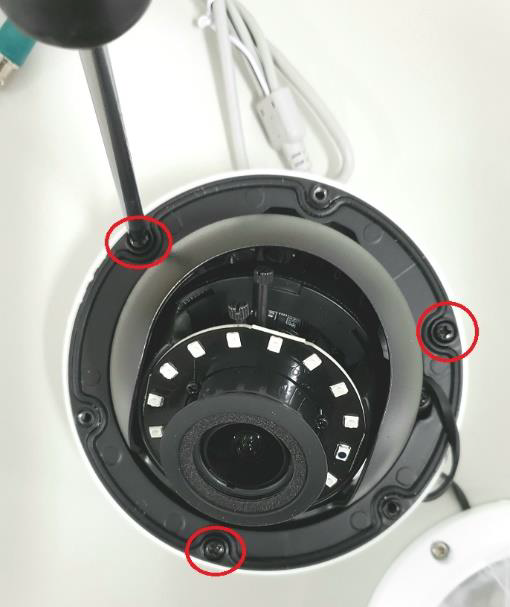
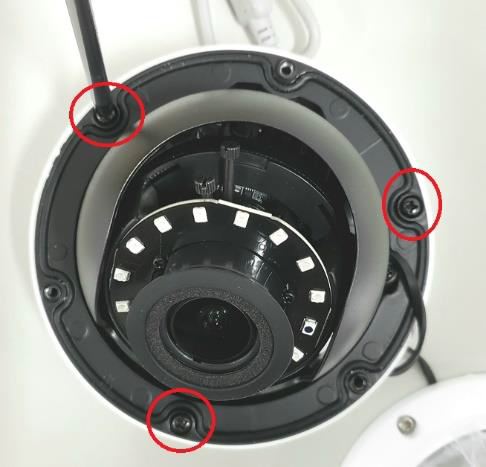
- Use a Phillips screwdriver to remove the three (3) bolts that secure the Camera to the back housing.
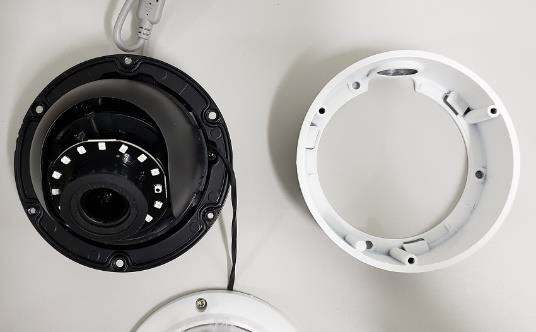
- Remove the camera from the back housing by twisting the back housing counterclockwise and pulling it down.
- Using a Phillips screwdriver remove the three (3) bolts that secure the multi-purpose mounting plate from the junction box.
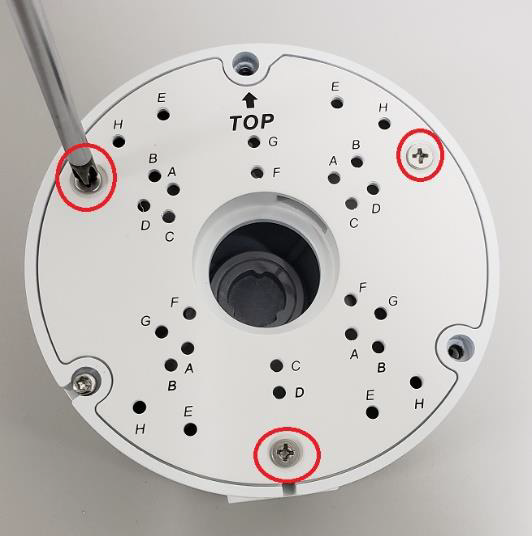
- Discard the multi-purpose mounting plate.
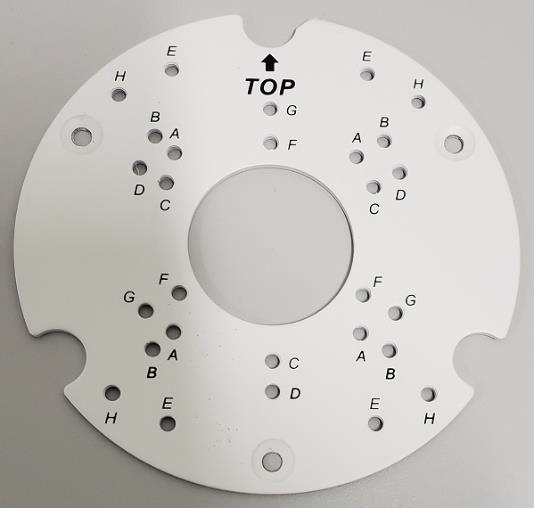
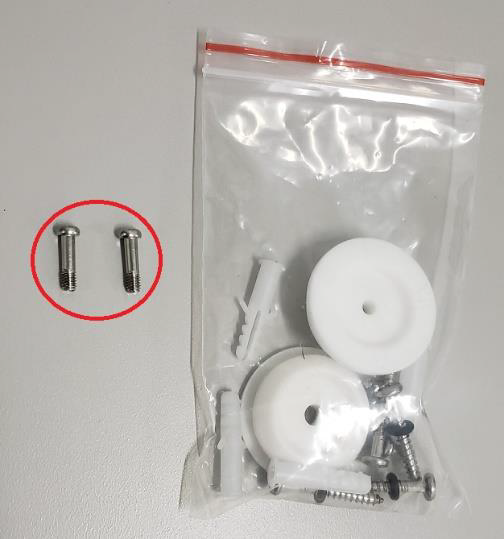
- Remove the two (2) security bolts from the hardware bag.
- Insert the two (2) security bolts into the junction box cover. Use the supplied security wrench to tighten the three security bolts.
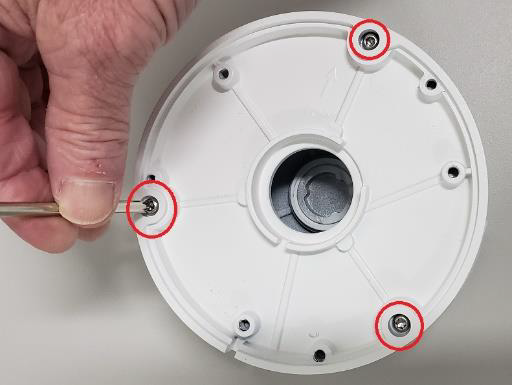
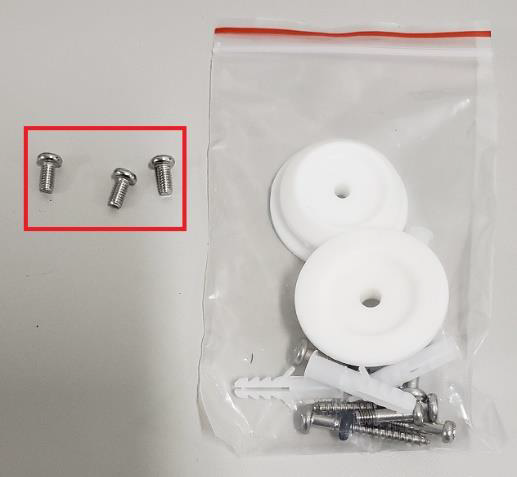
- Remove the three (3) short Phillips head bolts from the hardware bag.
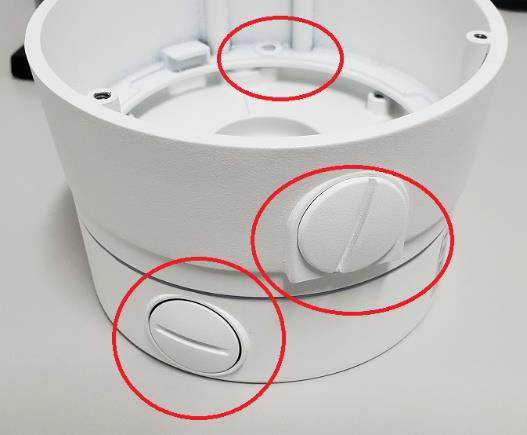
- Place the camera back housing onto the junction box. Notice the orientation below.
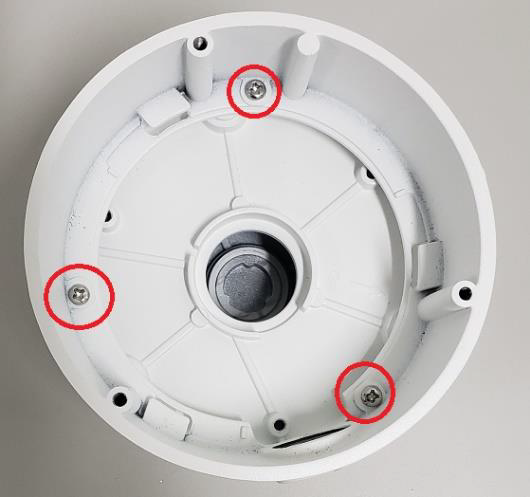
- Use a Phillips screwdriver to secure the three (3) short bolts to mount the camera back housing to the junction box.
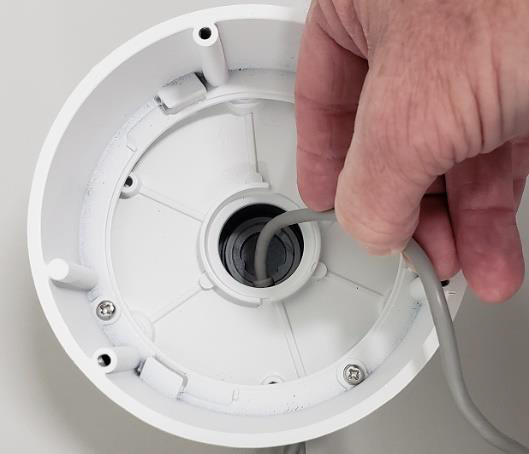
- Remove the twist tie from the camera main cable. Make the video and power connections. Feed the excess cable into the junction box.
- Reinsert the camera into the back housing. Turn clockwise to line up the three (3) bolt holes. Use a Phillips screwdriver the secure the three (3) bolts.
- Use the supplied security wrench to tighten the three (3) security bolts on the camera dome.
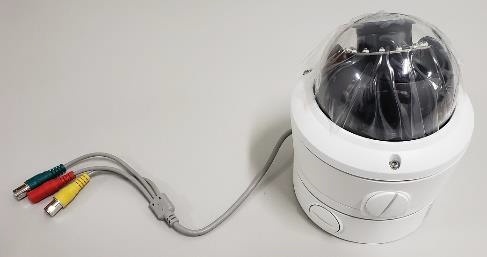
- The assembly is complete.
Comments
0 comments
Please sign in to leave a comment.